
Configure a system
Configuring systems is a fundamental part of setting up integrations within the eMagiz platform. This microlearning will walk you through the steps to add, edit, and delete a system. Within this context a system refers to any application exchanging data through eMagiz. Understanding how to manage these configurations ensures that your integrations are set up correctly from the start, laying the groundwork for smooth data exchange across your connected applications.
Should you have any questions, please contact academy@emagiz.com.
1. Prerequisites
- Basic knowledge of the eMagiz platform
2. Key concepts
This microlearning centers around configuring a system.
With configuration we mean: Adding, Editing, and/or Deleting a system
With system we mean: An application that will exchange data between itself and others (via eMagiz)
To configure a system you need the following:
- The name of the system
- Basic information about the system
3. Configure a system
As specified before with configure we mean adding, editing, and/or deleting a system. Below we will detail per action what you should do.
3.1 Adding a system
To add a system simply click on the system icon (regular or multi-tenant) located on the top left corner of your screen.

After you have released the system in the correct place you will immediately be presented with the following pop-up. In this pop-up fill in the following elements:
- Name
- Description
- Default Integration Pattern
- Hosting
When you fill in these elements you have registered the relevant meta-information for yourself and others to relate to the system in question
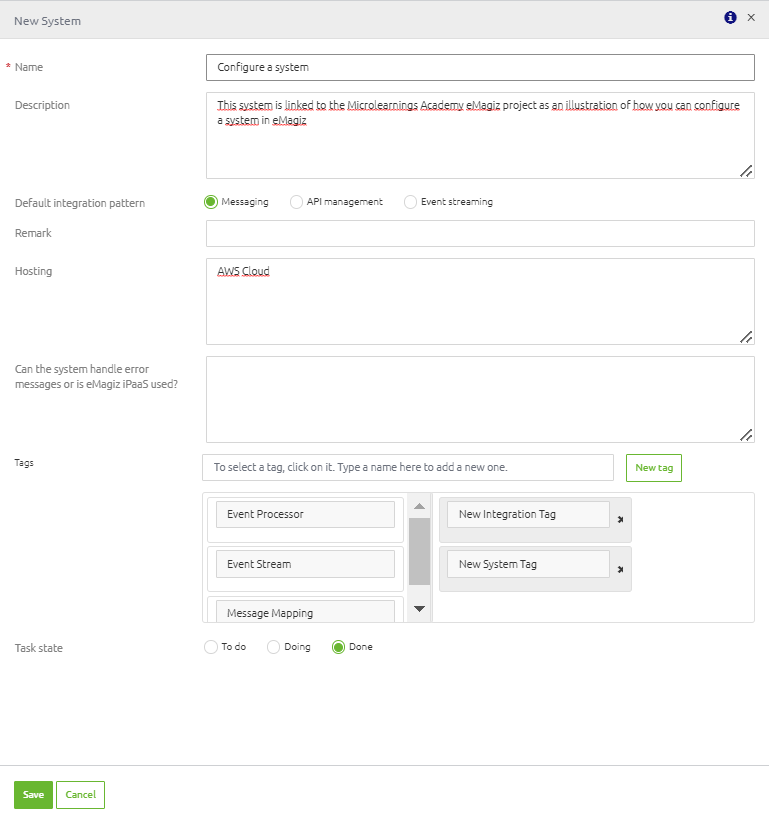
If you are satisfied with your work you can update the status and press Save.
3.2 Editing a system
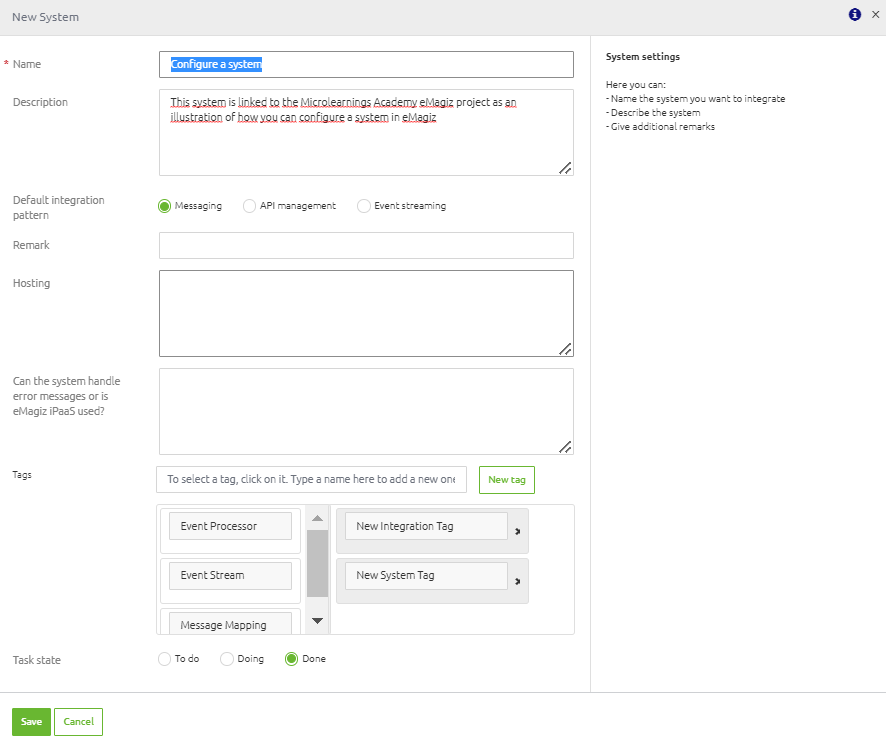
To edit a system you simply double click on the system (or edit it via the context menu). After you have done so you can edit the system via the same pop-up as when you create a new system.
For example, you could change the Status to Done or add a Remark. Editing a system can be done without impact at any given moment as you only edit descriptive fields.
3.3 Deleting a system
Adding a system is the starting point of your integration. Both editing and deleting a system can happen at any given moment.
Although editing a system has no impact regardless of the state of the system in subsequent phases of the ILM the same does not apply for deleting a system.
When a system has been transferred to Create you cannot delete the system anymore in Capture without removing it first from Create.
This is done to prevent situations that could be disastrous (i.e removing something that is still running on Production).
The specifics of those situations will be discussed in a separate microlearning. For now, we will keep it simple and focus on deleting a system while it is still in Capture and Design.
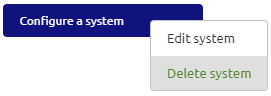
To delete a system in such a scenario you can simply open the context menu and press Delete system and press OK on the confirmation pop-up.
4. Key takeaways
- Adding a system is the starting point of building an integration via eMagiz
- Editing system information can be done at any given time without impact on other ILM phases
- Deleting a system can only be done (without special steps in preparation) when the system has not yet been transferred to Create or has been untransferred from Create.