
Sending data to a custom queue
In this microlearning, we'll focus on how to send data to a custom queue within eMagiz. A custom queue is one that you manually define, rather than one automatically created by eMagiz. Understanding how to set up and use these custom queues is essential for scenarios where you need more control over data flow, such as managing large datasets. We'll guide you through the process of configuring a JMS outbound channel adapter to send data to a custom queue, ensuring your integration flows work seamlessly.
Should you have any questions, please get in touch with academy@emagiz.com.
1. Prerequisites
- Advanced knowledge of the eMagiz platform
- Intermediate course on Orchestration of data packets
2. Key concepts
This microlearning centers around sending data to a custom queue
With a custom queue, we mean: A queue that is manually defined by an eMagiz user instead of eMagiz itself as a result of an automated process
To send data to a custom queue, you need:
- A JMS outbound channel adapter within your flow that sends data to the 'custom' queue
- The fully qualified name of the 'custom' queue on which to listen
3. Sending data to a custom queue
In some cases, there is a need to listen on a 'custom' queue for data. For example, when retrieving large amounts of data, you might need to place parts of the data on the queue to free up memory to process the complete batch of data. For those (and other) situations, it could be helpful to create 'custom' in-between queues. We need an additional writer on that 'custom' queue to ensure that data will be placed on the queue.
To send data to a custom queue, you need:
- A JMS outbound channel adapter within your flow that sends data to the 'custom' queue
- The fully qualified name of the 'custom' queue on which to listen
3.1 Setting up the outbound channel adapter
To set up the outbound channel adapter, navigate to the flow in Create in which you want to listen for messages on the 'custom' queue and enter "Start Editing" mode. After doing so, add the JMS outbound channel adapter to the canvas by dragging it on the canvas. Subsequently, double-click on the component to open it so you can edit it.
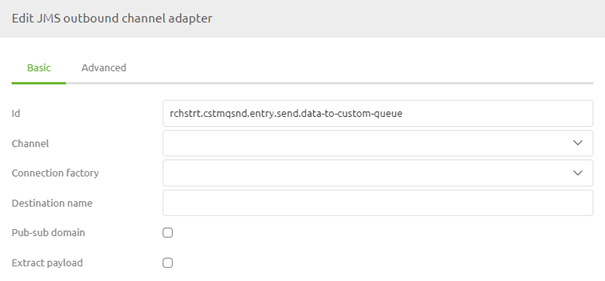
Here, you need to define the channel from which you retrieve the messages that need to be placed on the queue, the connection factory, the queue name you want to send data to, and deselect the option Extract payload.
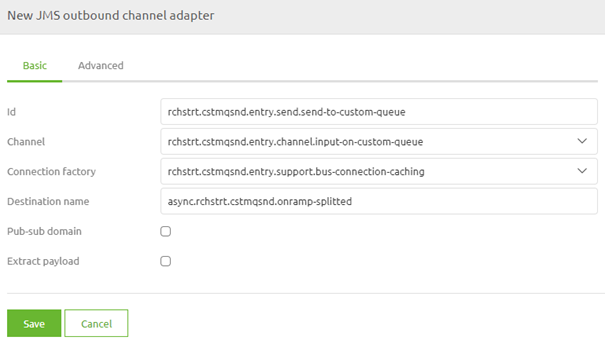
The moment you are satisfied, you can press Save on the component. Now you have successfully ensured that you send messages to a 'custom' queue.
4. Key takeaways
- A JMS outbound channel adapter within your flow that sends data to the 'custom' queue
- The fully qualified name of the 'custom' queue on which to listen