
Configure a message type
Configuring message types is a necessary step in setting up data exchanges within the eMagiz platform. This microlearning will guide you through the process of adding, editing, and deleting message types. In this context a message type defines a specific data object like Orders or Invoices that are exchanged between systems. Understanding how to manage message types effectively ensures smooth integration across your landscape, allowing for consistent data flow and easy re-use in multiple integrations.
Should you have any questions, please contact academy@emagiz.com.
1. Prerequisites
- Basic knowledge of the eMagiz platform
2. Key concepts
This microlearning centers around configuring a message type.
With configuration we mean: Adding, Editing, and/or Deleting a message type
By message type we mean: A reference to a specific data object (Order, Status, Employee, Invoice, etc.) of the data that needs to be exchanged.
This specific data object can be exchanged between several parties, meaning a message type can be in multiple integrations within your landscape.
To configure a message type you need the following:
- The name of the message type
- Basic information about the message type
3. Configure a message type
As specified before with configure we refer to adding, editing, and/or deleting a message type. Below we will explain the steps in detail.
3.1 Adding a message type
To add a message type you simply drag a line from or to a system on the canvas

After you have connected the system to eMagiz (located in the center) you will immediately be presented with the following pop-up. In this pop-up you have a choice to make:
- Re-use a message type (in case another system already supplies Orders and you want to send these Orders to another system for example)
- Add a new message type
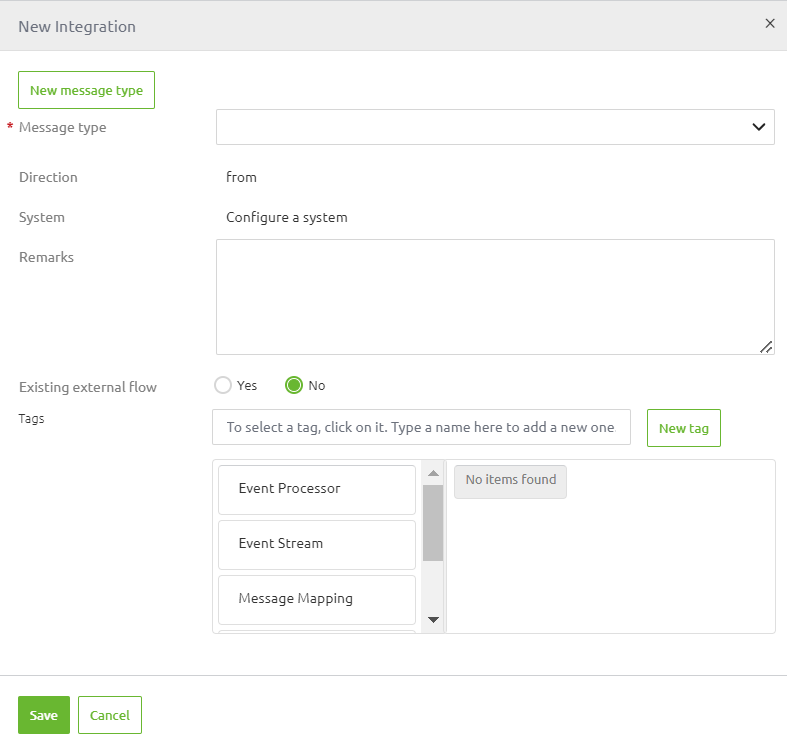
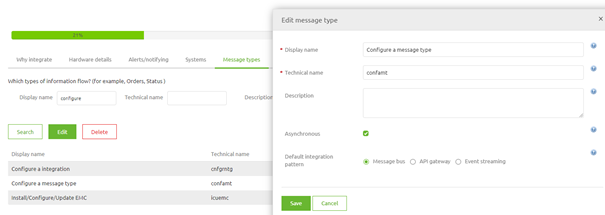
In this case, we will choose the option New message type. Selecting this option will lead to a second pop-up
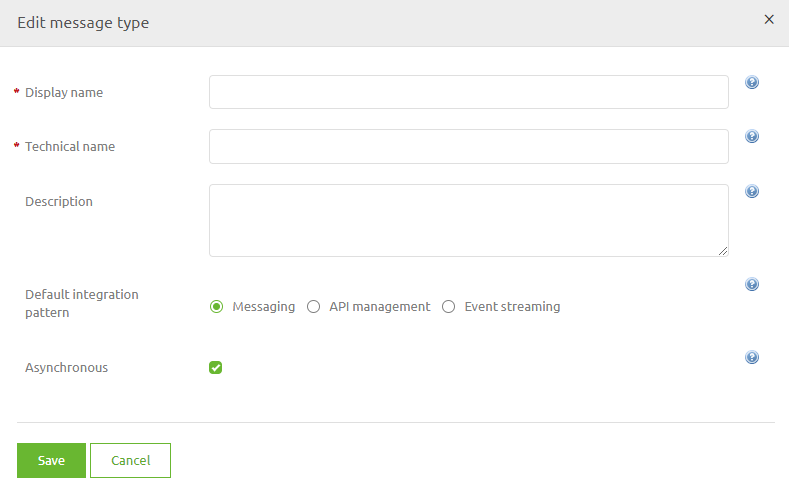
In this pop-up, you need to fill in the correct details regarding your message type. The critical ones are:
- Display name
- Technical name
- Default integration pattern (coupled with Asynchronous)
While the first two are critical because you need a unique name within your eMagiz project to prevent errors, the other information element is interesting for a different reason.
This information element is a good first step in determining which integration pattern to use when dealing with this data.
See the example below on how to register this information correctly.
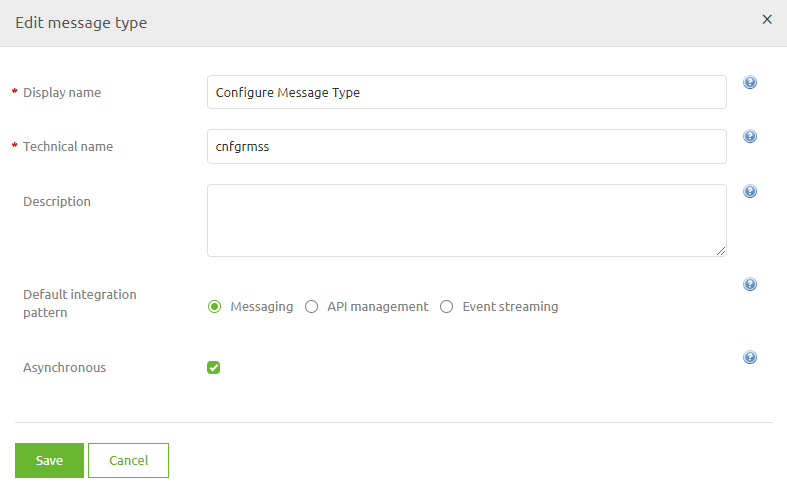
If you are satisfied with your work you can press Save. This action will lead you back to the first pop-up with a distinctive difference, the message type is filled in.
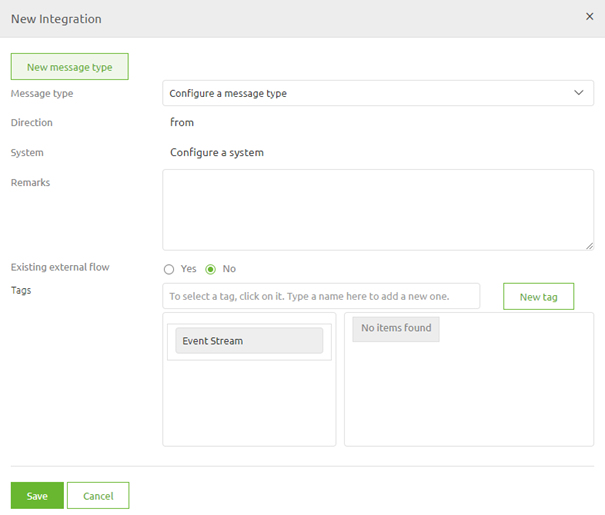
If everything is okay you can press Save and as a result, eMagiz will update the Capture overview.

3.2.2 Editing a message type
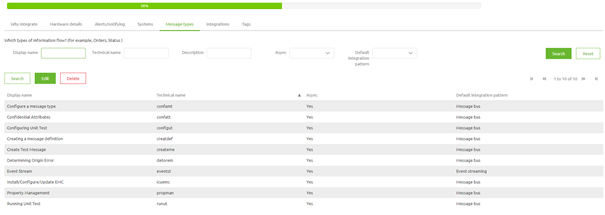
To edit this general set of information on message type level navigate to Capture -> Settings -> Message Types. In this overview, you see all message types related to your eMagiz project.
Here you can search for the message type you want to Edit, select it and press Edit.
Here you can change the information you have first submitted when you created a new message type.
A message type can be re-used over multiple integrations (lines in Capture) so be careful what you change here as it will automatically update the information on the integration level.
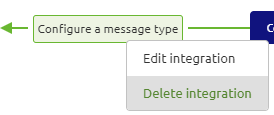
3.3 Deleting a message type
Deleting a message type can be done after you have deleted all integrations that make use of the message type.
Therefore to delete a message type you first need to delete all the integrations (lines) in Capture that use this message type.
Be aware that you can only delete an integration if the integration is not part of the Create phase (anymore).
After you have done this you can navigate to Capture -> Settings -> Message Types. In this overview, you see all message types related to your eMagiz project.
Here you can search for the message type you want to Delete, select it, and press Delete.
If you have deleted all integrations correctly the message type will be removed.
4. Key takeaways
- A message type refers to a specific data object that you want to exchange between parties
- Several integrations can re-use the message type
- Editing information on message type level also edits information on integration level
- Deleting a message type can only be done after all integrations have been deleted.