
Flow Editor - Basics
In eMagiz, the flow editor is essential for building and managing your integration. This tool provides a visual representation of your flow and simplifies the development process by pre-generating components based on your design choices. In this microlearning, we’ll focus on the right-hand panel of the flow editor, where you’ll find key features like alerts, resources, support objects, and properties that help you fine-tune your integration. Let’s explore how these elements can enhance your workflow!
Should you have any questions, please contact academy@emagiz.com.
1. Prerequisites
- Basic knowledge of the eMagiz platform
2. Key concepts
This microlearning focuses on the flow editor.
With flow editor we mean: The canvas in Create that allows you to edit the functionality of a flow
3. Flow Editor Basics
A central part of building your integration in eMagiz is the flow editor. Here you can see what is happening in the flow to make the intended process work as you would expect.
To make your life easier eMagiz will generate a starting point for you based on your configuration choices in Design so you don't start with a completely blank canvas.
Some of the flows that are pre-built for 85-95% of the cases include:
- Onramps and offramps (Messaging)
- Entry and exit gate (API Gateway)
- Event Processors (Event Streaming)
In the panel on the right, the alerts, resources, support objects and properties can be found.
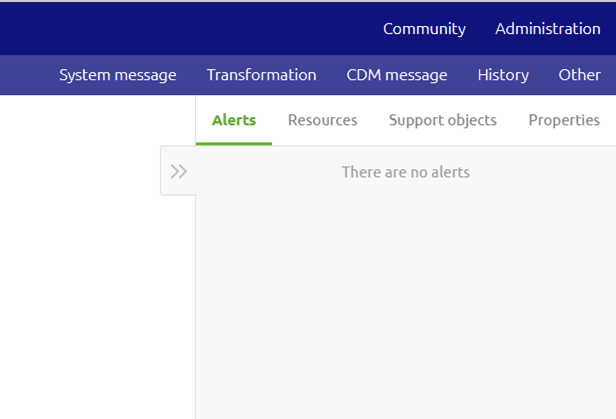
3.1 Alerts
The alerts show whether there are any errors that may hinder the flow from working. For example, in case a component is not connected. Below, the alerts are shown in case two components are not connected.

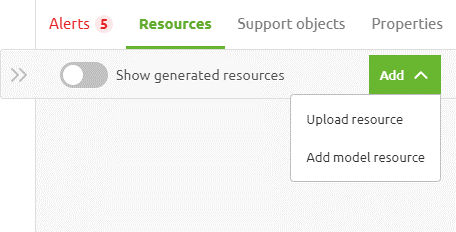
3.2 Resources
In the resources tab, it is possible to add a resource by uploading a resource or adding a model resource. This can be done by clicking the add button.
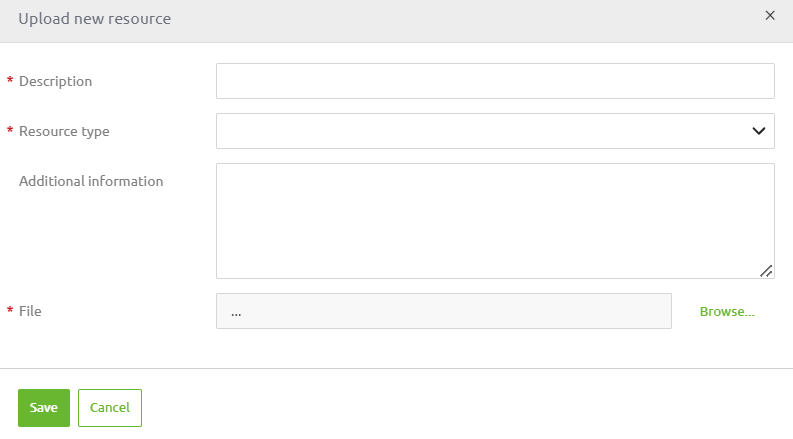
When uploading a custom resource, a description, resource type, and file have to be uploaded, after which the new resource can be added.
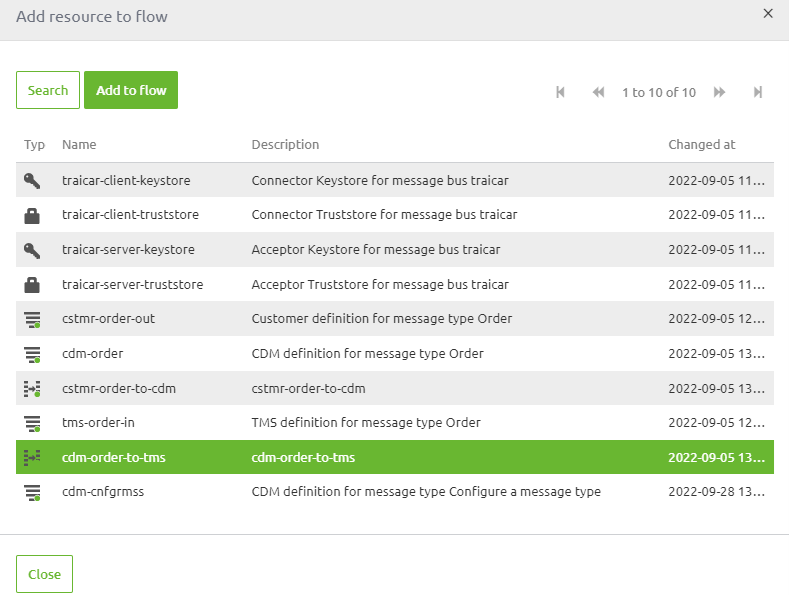
When adding a model resource, resources existent in the model can be added. This can be done by clicking on a resource and adding it to the flow.
3.3 Support objects
In the tab with the support objects, the current support objects in the flow can be seen.
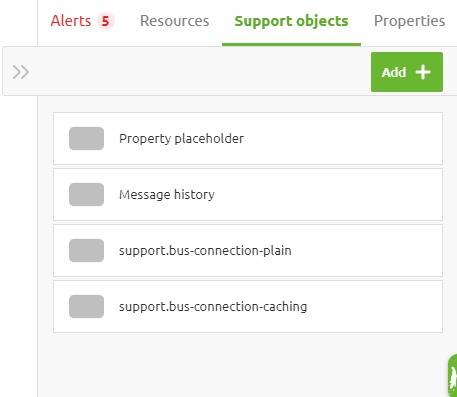
For more information on support objects and how to configure them please check out this microlearning.
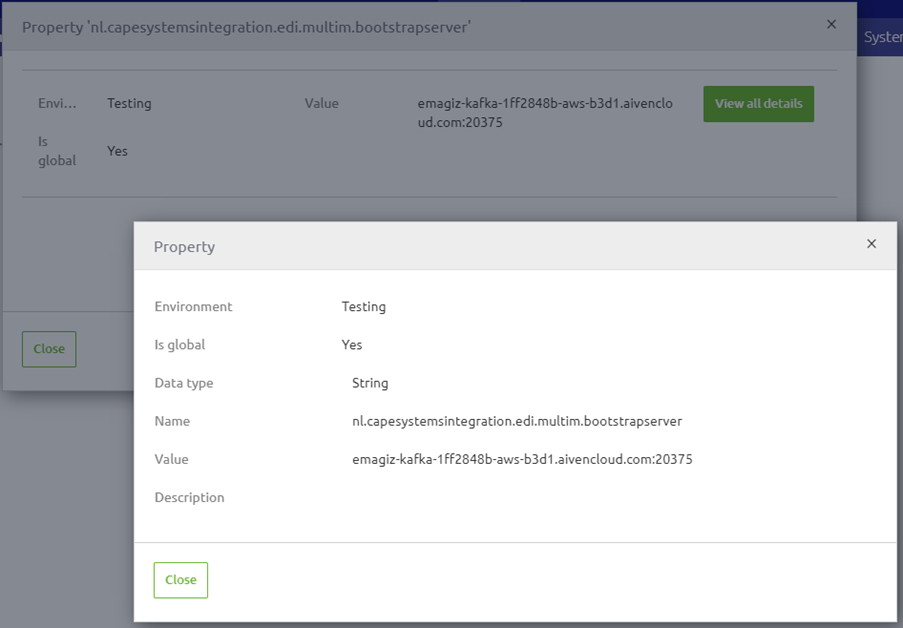
3.4 Properties
In the properties tab, it can be viewed which properties are being used in the flow.
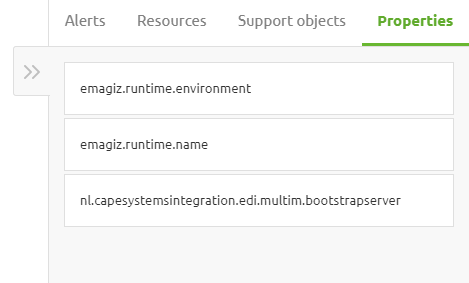
By clicking on a property you can see the values of properties across the environments and across the runtimes.
4. Key takeaways
- By making the correct Design decisions eMagiz will generate most of your flow for you based on defined best practices.
- If no best practice has yet emerged only the known components are generated
- In the panel on the right, the alerts, resources, support objects and properties can be found.
5. Suggested Additional Readings
If you are interested in this topic and want more information on it please read the help text provided by eMagiz or browse through the reference guide to see which components eMagiz offers. Next to that, read the following link: