
Set as mapped in message mapping
In this microlearning, we'll cover the concept of setting an attribute as "mapped" during message mapping. This means you're indicating that a specific attribute will be filled with a static input, rather than being mapped from the source data. Essentially, this allows you to enrich the output by adding values where needed. We'll walk you through how to do this and also how to add notes to your mappings, making it easier to communicate decisions and ensure the quality of your integrations.
Should you have any questions, please contact academy@emagiz.com.
1. Prerequisites
- Basic knowledge of the eMagiz platform
2. Key concepts
This microlearning centers around understanding how you can place an attribute on set as mapped while doing the message mapping.
With set as mapped we mean: Registering that a certain attribute will be filled with a static input
In other words, enriching the output based on a static input instead of something in the input definition
3. Set as mapped in message mapping
Let us return to where we stopped in the last microlearning by showing the message mapping overview with the lines we drew

As you see, the Description attribute on the Crash Course level is not mapped yet but is mandatory.
To register that we want to use a static input we have to press Start Editing to enter the Start Editing Mode.
After that, we navigate to the attribute in question, right mouse click, and set it as mapped.
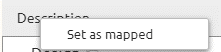
To indicate that a certain attribute has been registered set as mapped eMagiz will show a cube icon in front of the attribute

As you can see, all mandatory elements have been mapped with the help of our message mapping. Therefore we can conclude that the message mapping is done.
3.1 Adding notes
A nice addition to the functionality surrounding message mapping is that you can add notes to tell others if a certain mutation on the input field is necessary or what the static input should be.
You can add a note by right-clicking on the attribute and selecting the option New/Edit Note

Selecting this option will lead you to the following pop-up. In this pop-up, you can fill in some information that can help others that will create the transformation later on in Create.
A example of such an entry would be:
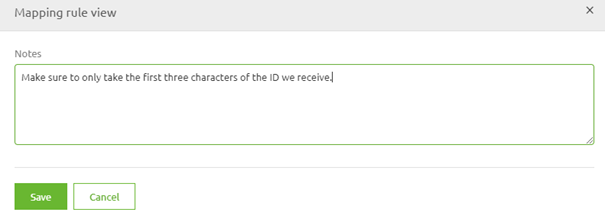
After you have saved the note an icon will appear on the attribute letting you and others know that some notation has been made on that attribute that is worth reading.
![]()
4. Key takeaways
- With the set as mapped functionality you can register for (mandatory) attributes that the input is a static value
- Adding notes can help improve the quality of work and help you to explain to others why you have made certain choices