
Authorization - Basic Authentication
In our previous microlearning, we covered how to call a REST web service. Now, we will shift our focus to Basic Authentication, one of the simplest and most commonly used methods for securing these calls. This session will guide you through configuring Basic Authentication to ensure that your REST web service interactions are properly secured. Mastering this will enhance both the efficiency and security of your solutions.
Should you have any questions, please contact academy@emagiz.com.
1. Prerequisites
- Intermediate knowledge of the eMagiz platform
2. Key concepts
This microlearning centers around using Basic Authentication as the form of authentication when calling a REST Webservice.
- With REST, we mean: A web service that adheres to the RESTful principles.
- With Basic Authentication, we mean: A specific authentication implementation based on a username/password combination.
3. Authorization - Basic Authentication
In the previous microlearning, we discussed how you can call a REST web service. In this microlearning, we will focus on the simplest form of authentication when it comes to calling a REST Webservice. This form is called Basic Authentication. Knowing how you can easily configure the correct authentication pattern for the REST Webservice you need to call will significantly improve the quality and speed at which you can deliver your solution. Key parts to consider for this microlearning are:
- The application (eMagiz) pushes data to an external REST web service (or API).
- To do so eMagiz needs to be authorized to read and/or write data.
- Basic authentication was an industry standard that is still widely implemented.
To ensure that the proper authorization is sent along with the call to the REST web service we need a support object. Support objects are components in eMagiz that support the working of other components. In this case, we need a REST Template as our support object.
3.1 REST Template
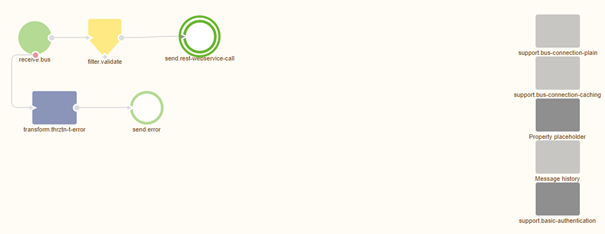
When you navigate to the Create phase you can open an exit flow and see whether you already have an HTTP outbound component within your exit flow. If not please add an HTTP outbound component (gateway or channel adapter) to the flow. In the previous microlearning, we focused on these components so we won't focus on these components in this microlearning.
To ensure that a certain authorization is added to this HTTP outbound component we need to add the support object called REST Template to the flow:
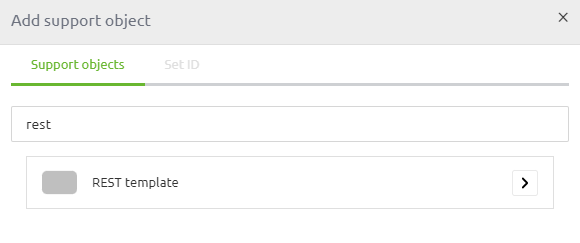
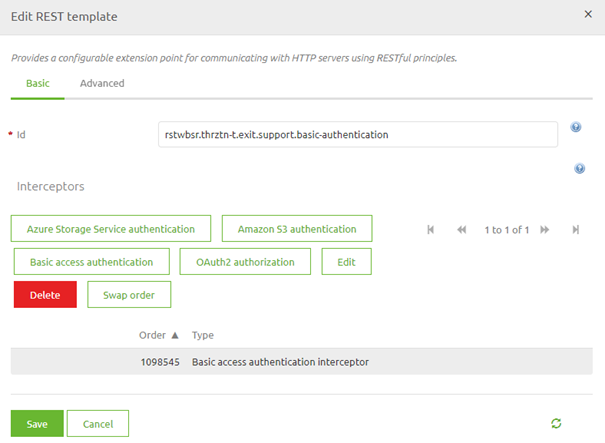
After you have added the support object to the canvas and given it a name you can open it by double clicking on the component. eMagiz will show you the following pop-up:
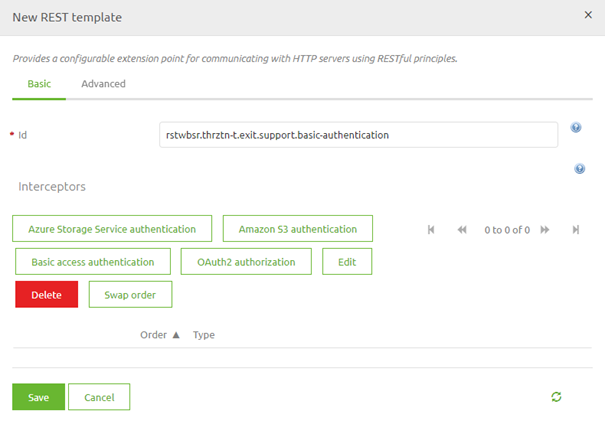
As you can see here you can select various authentication schemes. In this microlearning, the focus is on Basic Authentication therefore we select the button called Basic access authentication. Selecting this option will open another pop-up. In this pop-up, we need to fill in the relevant information for the authentication scheme that we have selected.
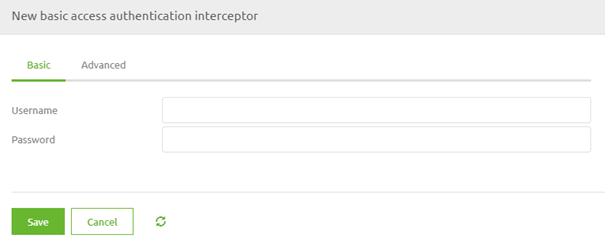
In this case, we have to fill in the username and password that will be used to authorize ourselves with the external party. As always in scenarios where an information element can change between environments, you should use a property reference and determine the correct value on a per-environment basis.
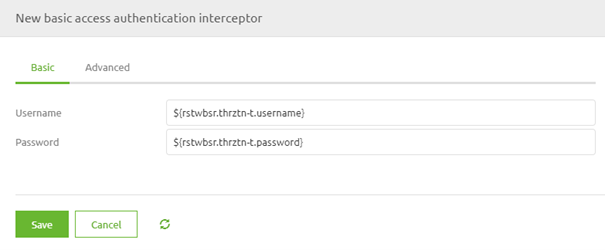
When you are satisfied you can press Save. This will lead you back to the original pop-up that now indicates the authentication scheme you have selected.
Once again you can press Save if you are satisfied with your configuration.
3.2 Link REST Template to HTTP Outbound Component
Now that we have successfully configured the REST Template the last thing we need to do is link the REST Template to the HTTP Outbound component in your flow. To do so open the HTTP Outbound component by double-clicking on the component. After you have opened the component you need to navigate to the advanced tab. On this tab, you can select a REST Template. Select the one we have just configured from the drop-down menu and press Save.
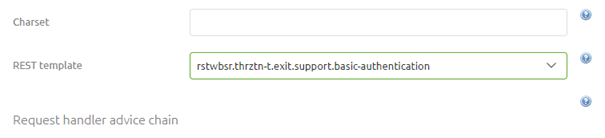
Now you have successfully linked the REST Template to the HTTP Outbound Gateway. If you ever want to validate whether a support object is indeed linked to your component simply click on it once. That way eMagiz will show the selected component and all other components that are linked to it.
4. Key takeaways
- eMagiz facilitates both sending and receiving data to/from external systems via REST web services.
- Two HTTP Outbound components are available:
- Use the HTTP Outbound Gateway when a response is needed.
- Use the HTTP Outbound Channel Adapter when no response is required.
- To perform these data interactions, eMagiz must be authorized to read from or write to the external service.
- Basic Authentication is a straightforward method for securing REST web service calls using a username and password.
- Configure Basic Authentication by adding a REST Template to your flow and setting it up with the appropriate credentials.
- Ensure proper linkage of the REST Template to the HTTP Outbound component in your eMagiz flow for authentication to work correctly.
5. Suggested Additional Readings
If you are interested in this topic and want more information, please read the help text provided by eMagiz and read the following links: