
Routes
In this microlearning, we will dive into how to add, edit, or delete a route to ensure your messages are directed to the correct internal endpoints. Proper route configuration is essential for maintaining seamless communication between your public-facing endpoints and internal systems (e.g., when you are hosting an endpoint). Let's explore the key concepts and actions involved in route management to help you effectively manage your eMagiz Cloud setup.
Should you have any questions, please contact academy@emagiz.com.
1. Prerequisites
- Basic knowledge of the eMagiz platform
- Basic knowledge of cloud management
2. Key concepts
This microlearning centers around routes within the eMagiz Cloud.
- With routes, we mean: The logical link between the public-facing endpoint and the internal endpoint on the cloud slot level that should process the message.
3. Routes
In this microlearning, we will focus on the action to add, edit or delete a route. When hosting an endpoint you need to define a route to properly route the messages to the correct internal endpoint.
- When adding a route the following will take place within the eMagiz Cloud
- Updates the carwash to forward to the instance/port of the target runtime, Updates DNS records (Route 53)
- An update action updates the route setting
- A delete action deletes the route setting preventing traffic from entering your eMagiz Cloud solution via that route
A route is a port that can be opened up to accept specific traffic. By linking a route to a specific endpoint you can use it to host a web service (SOAP / REST) on a specific port. This route is then used to internally route the message from the carwash to the internal eMagiz Cloud endpoint you have configured here. This way you can host several web services in your integration landscape parallel to one another. Please refer to the other microlearning mentioned below to learn more about the carwash.
Configuring routes is relatively simple and can be done via the Deploy Architecture canvas. As you by now probably know we first need to enter "Start Editing" mode. After we have done so we can access the context menu on the eMagiz Cloud level by clicking just to the right (or the left) of the representation of your cloud. This will lead you to the following context menu.
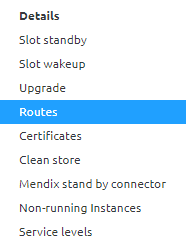
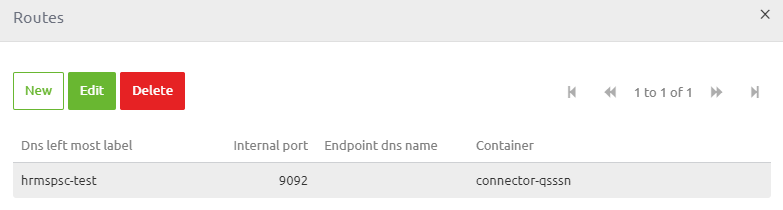
Selecting this option in "Start Editing" mode will lead you to an overview that lists all routes that have already been configured in previous iterations. Note that each port number can only appear once per environment per cloud slot. If you re-use the same port number within the context of the same server (in this case the VPC) only one of them will work.
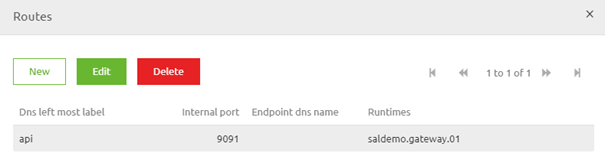
In this overview, we can press the New button to add a new route. Note that you can also select an existing route and press Edit to change values. After you have clicked on the New button a new pop-up will appear that you need to fill in.
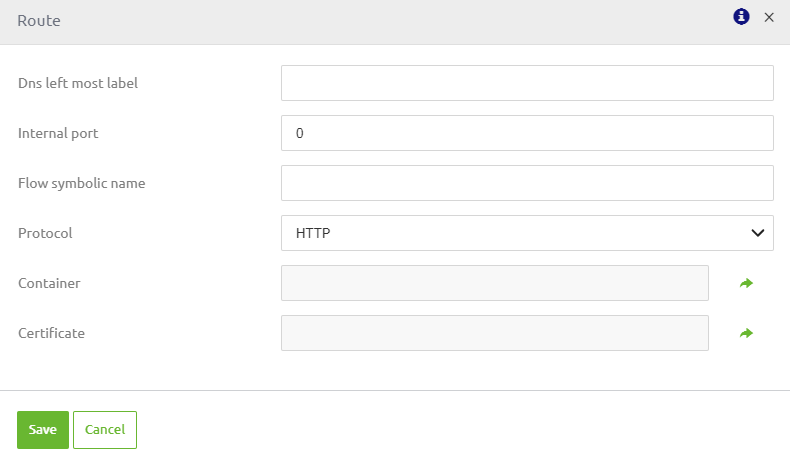
The first step in this configuration is to add the DNS left-most label. The best practice is to use the technical name of the runtime in combination with the environment (an example is hrmspsc-test). After you have done so fill in the internal port. Note that the value must match the one configured in the Runtime Settings of the runtime. This value is mainly indicated via a property reference. The best practice is to vary the start number of the port between Test, Acceptance, and Production. This is to prevent potential trouble. (an example is 9090 on Test, 8090 on Acceptance, and 7090 on Production).
After you have filled this in you can fill in the flow symbolic name. Given that the infra flow is the common denominator in this we suggest referencing this, an example of this is hrmspsc.infra. After that, we need to link the port to a specific runtime. To do so click on the select icon and select the correct runtime in the pop-up that is shown. After you have filled in all this information the configuration should look similar to this.
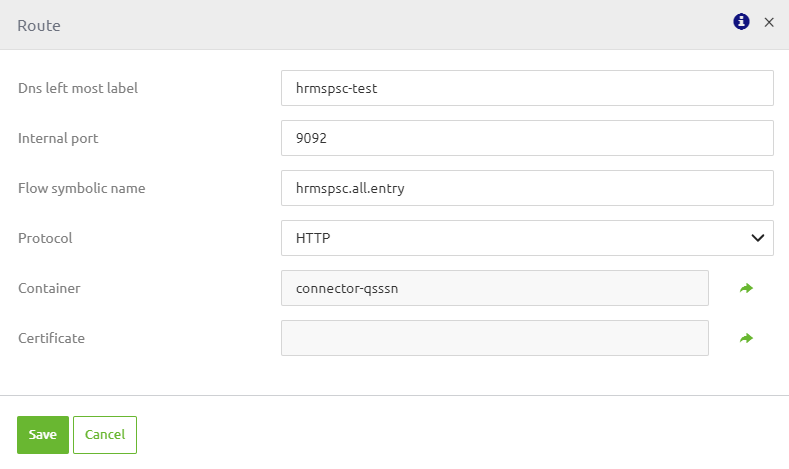
When you are happy with your configuration you can press Save to return to the overview. Your entry should be added (or edited) by now.
Note that you can change routes as many times as you like. To do this, you have the option to Edit or Delete the route from the same overview we have shown above. Another point to take into account is that, if you do not press Apply to the environment on this canvas, then the changes that you made will not be applied. Please refer to the other microlearning mentioned below on the usage and inner workings of the apply to environment button.
As you probably already gathered you have the option to Edit or Delete the route from the same overview we have shown above.
4. Key takeaways
- Adding a Route: This action updates the carwash to forward traffic to the instance/port of the target runtime and modifies DNS records (Route 53) accordingly.
- Editing a Route: This action updates the route settings, allowing you to adjust configurations as needed to align with changes in your internal setup or requirements.
- Deleting a Route: This action removes the route setting, preventing traffic from reaching your eMagiz Cloud solution through that route.
- Configuration Best Practices: Ensure that the port values match those specified in the Runtime Settings of your runtime, and consider varying port numbers across different environments (Test, Acceptance, Production) to avoid conflicts.
- Finalizing Changes: Remember to apply your changes to the environment by using the "Apply to Environment" button; otherwise, your modifications will not take effect.
5. Suggested Additional Readings
If you are interested in this topic and want more information, please read the help text provided by eMagiz and see the following links: