
Importing Store Items - Design Phase
This microlearning session focuses on the key concepts related to importing store items in the Design Phase of the eMagiz platform. The eMagiz Store is a valuable resource, providing a library of reusable solutions that can enhance your integration projects. In this session, you will learn how to use the import wizard to bring in message definitions, data model messages, transformations, and flow fragments from the Store. Additionally, you'll discover how to merge store data models with your own, ensuring seamless integration.
Should you have any questions, please get in touch with academy@emagiz.com.
1. Prerequisites
- Basic knowledge of the eMagiz platform
2. Key concepts
This microlearning centers around importing store items in the Design Phase. With eMagiz Store, we mean A content library available to the community to select re-usable solutions within the eMagiz platform.
- To import a store item in Design, you need to follow the import wizard
- When importing in Design, you can import the message definition, data model message, transformation and accompanying flow fragments
- When importing the data model message or transformation you will need to merge the store data model with your data model
- More on this in the following microlearning.
3. Importing Store Items - Design Phase
3.1 Import Options
In contrast with the Create phase store items (which provide you a set of components to achieve a particular objective), the Design Phase store items give you the additional functionality to import the message definition, the data model message and the message mapping. Below you will find how you can import for each of these options. Following that we will look at how the import functionality will look like when choosing the store as import options. On top of that we will close this section by looking at the effect in Create when you select flow fragments that are part of the store item.
3.1.1 Message Definition
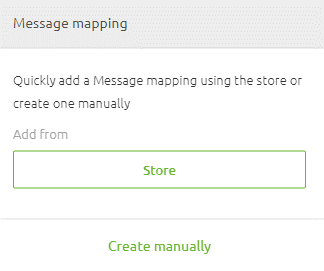
To import a message definition from the Store in Design, you must navigate to the system message via the context menu. When doing so for the first time, eMagiz will show you the following options after entering the "Start Editing" mode.
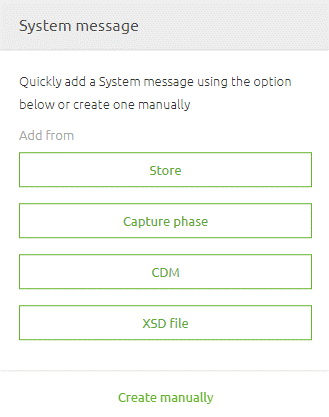
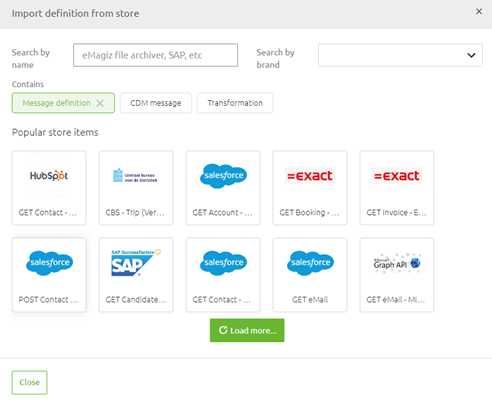
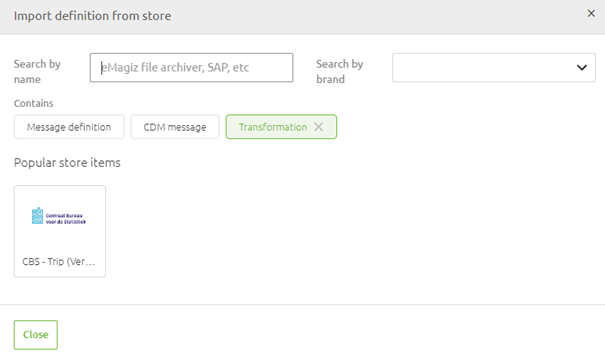
When you select the option Store, eMagiz will show you all alternatives within the eMagiz store to which a Message Definition is linked. Note that you can search by Name and by Brand in this overview.
3.1.2 Data model message
To import a data model message from the Store in Design, you must navigate to the data model message via the context menu. When doing so for the first time, eMagiz will show you the following options after entering the "Start Editing" mode.
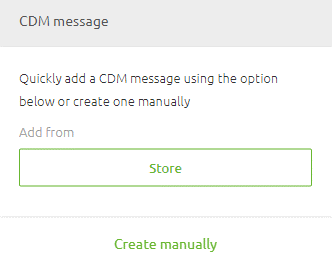
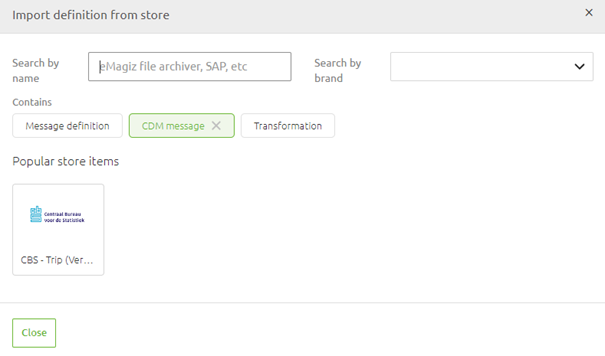
When you select the option Store, eMagiz will show you all alternatives within the eMagiz store to which a Message Definition is linked. Note that you can search by Name and by Brand in this overview.
3.1.3 Transformation
To import a transformation from the store in Design, you must navigate to the message mapping via the context menu. When doing so for the first time, eMagiz will show you the following options after entering the "Start Editing" mode.
When pressing this button you will see all valid alternatives available in the eMagiz store that contain a Transformation. Note that you can search by Name and by Brand in this overview.
3.2 Import Process
Once you have found the item of your liking, you can select it by clicking on it. This action will lead you to the details page associated with the store item. Here you will find the relevant information related to this store item. On top of that, we provide you with a Versions & Variants tab that shows you all existing versions you could import.
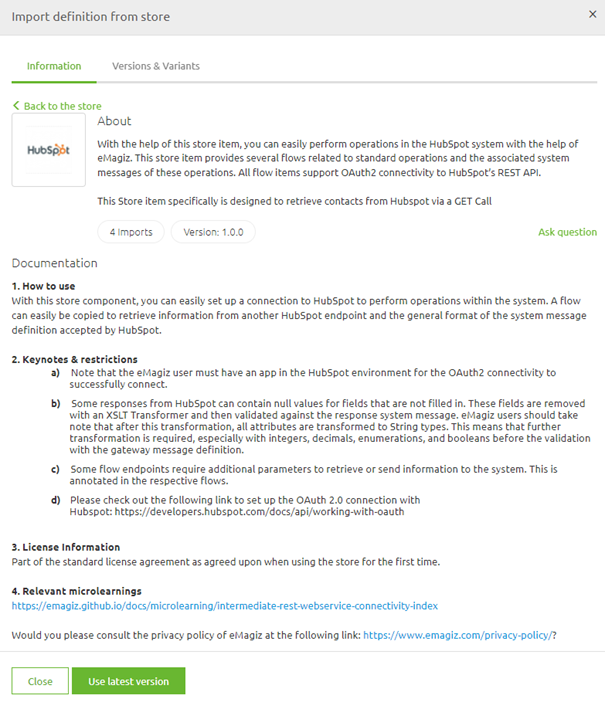
In cases where you want the latest version use the button titled "Use latest version" on the Information tab. Once you have selected a version, eMagiz will show the following step of the process. Here you can choose whether you want to import the message definition(s), and it will ask you whether you wish to select accompanying flow fragments which are of use later on in Create. Since it is a GET operation, we only have a response definition to import. On top of that, we have two flow fragments. One that handles the authentication and one that holds the logic of the store item.
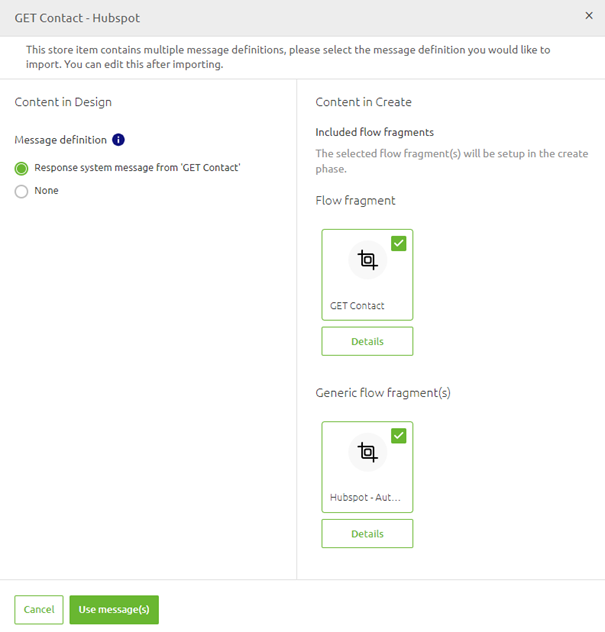
It is up to you what you exactly want to import. Maybe only the definition is enough for you, or perhaps you want the whole package. So here you have the choice to do so. Once you are satisfied with your selection, press "Use message(s)." This will start the import process. As a result, eMagiz will import your selection both in Design and in Create. In the example below this means that the message definition is imported.
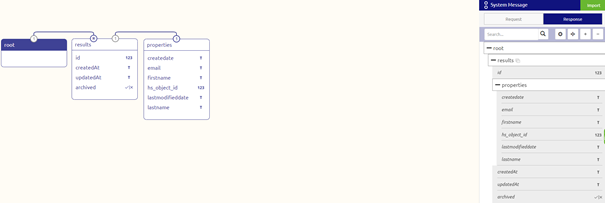
Now you should create the mapping from your data model to the system message(s) yourself, and when you are finished, you can transfer the solution to Create just as you are used to doing.
3.3 Effect in Create
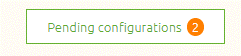
Once you have transferred the solution to the Create phase and open the relevant flow for which you have imported the store item, you will see a "Pending configuration" button on the bottom of your canvas.
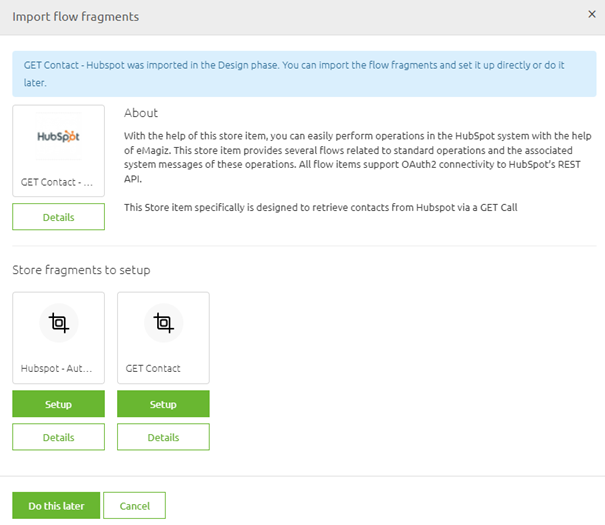
After pressing this button, you will see a pop-up showing all flow fragments to import. You can select each flow fragment separately by pressing the Setup button. Note that if you want to configure this at a later moment, you can choose the option "Do this later" and come back later to finish the job. On top of that, you can press Cancel if you change your mind and don't want to import the flow fragments.
When pressing this, eMagiz will show you the import wizard. This configuration wizard finishes the import process.
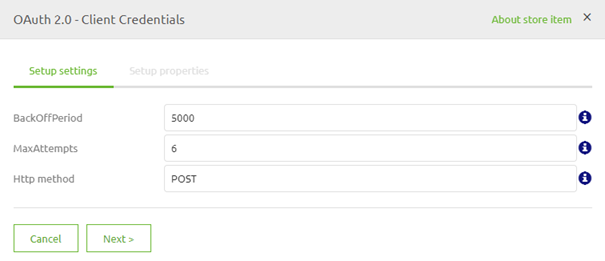
For all the details on this wizard, please check out the following microlearning.
4. Key takeaways
- To import a store item in Design, you need to follow the import wizard
- When importing in Design, you can import the message definition, data model message, transformation and accompanying flow fragments
- When importing the data model message or transformation you will need to merge the store data model with your data model
- More on this in the following microlearning
- After importing the system message in Design, you can configure the flow fragments in Create with the help of the button called "Pending configurations."